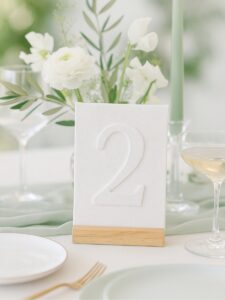
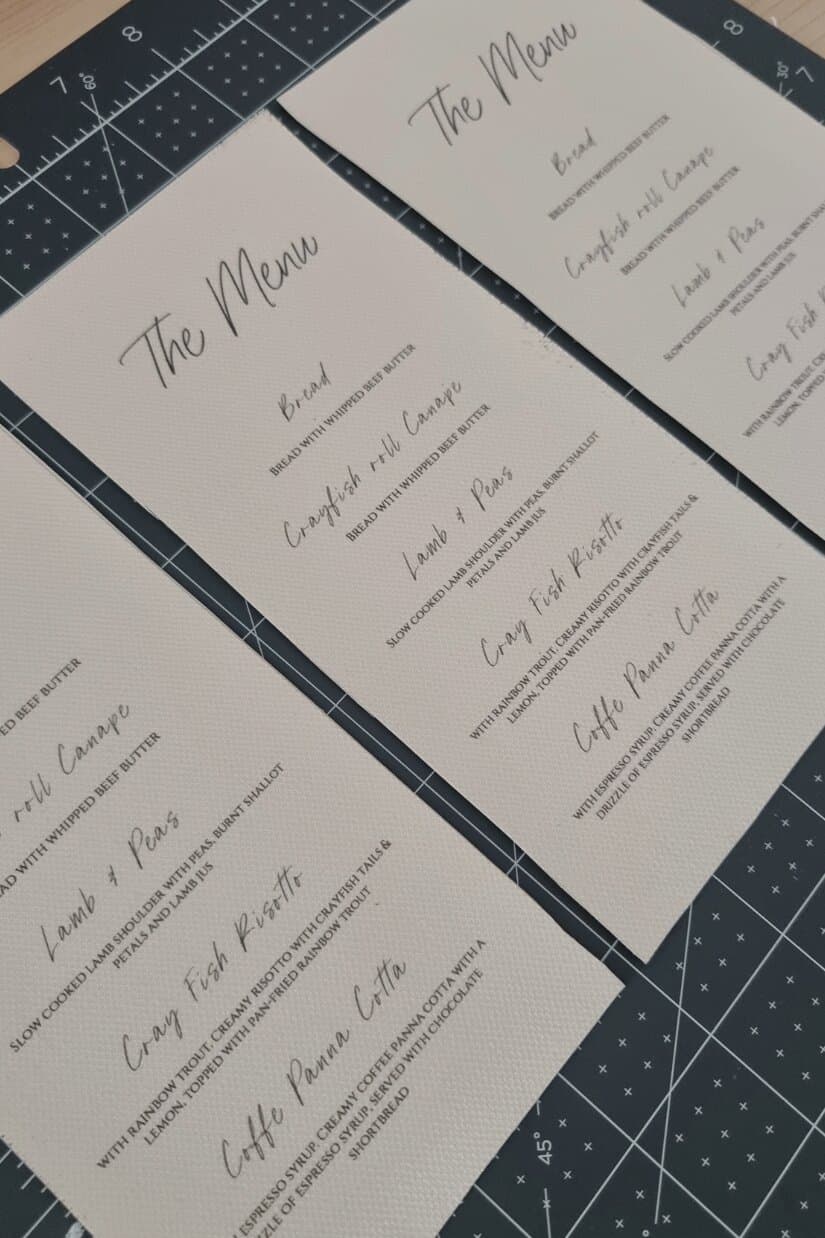
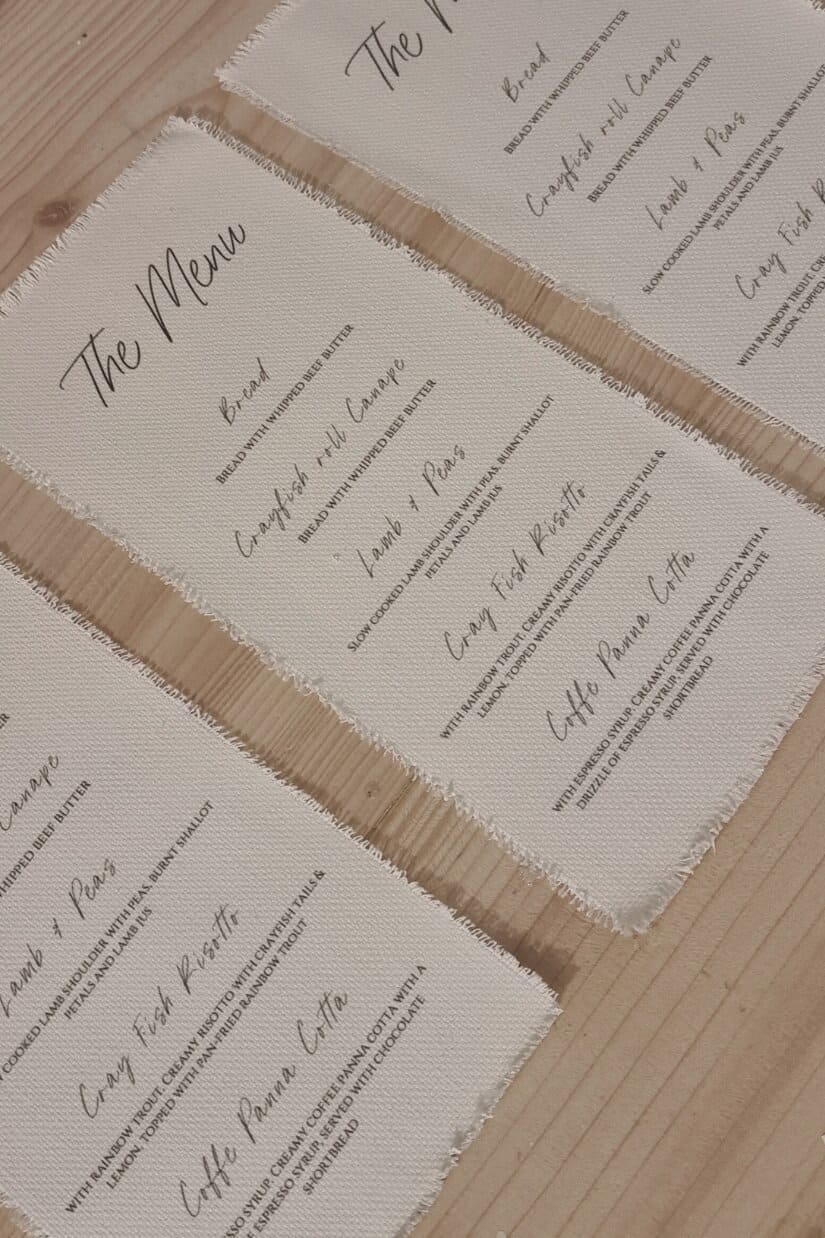
Linen-look menus that don’t wreck the budget? Yes, please.
This method gives you that soft, frayed-edge texture for around 30p/30¢ per menu, using supplies you can print at home. They are so easy to make, you could have 100 menus done in a few hours!
I’ll walk you through the design, print, cut, and fray—plus share free A4 and US Letter templates so batching is simple.

Why this works (the “canvas” trick)
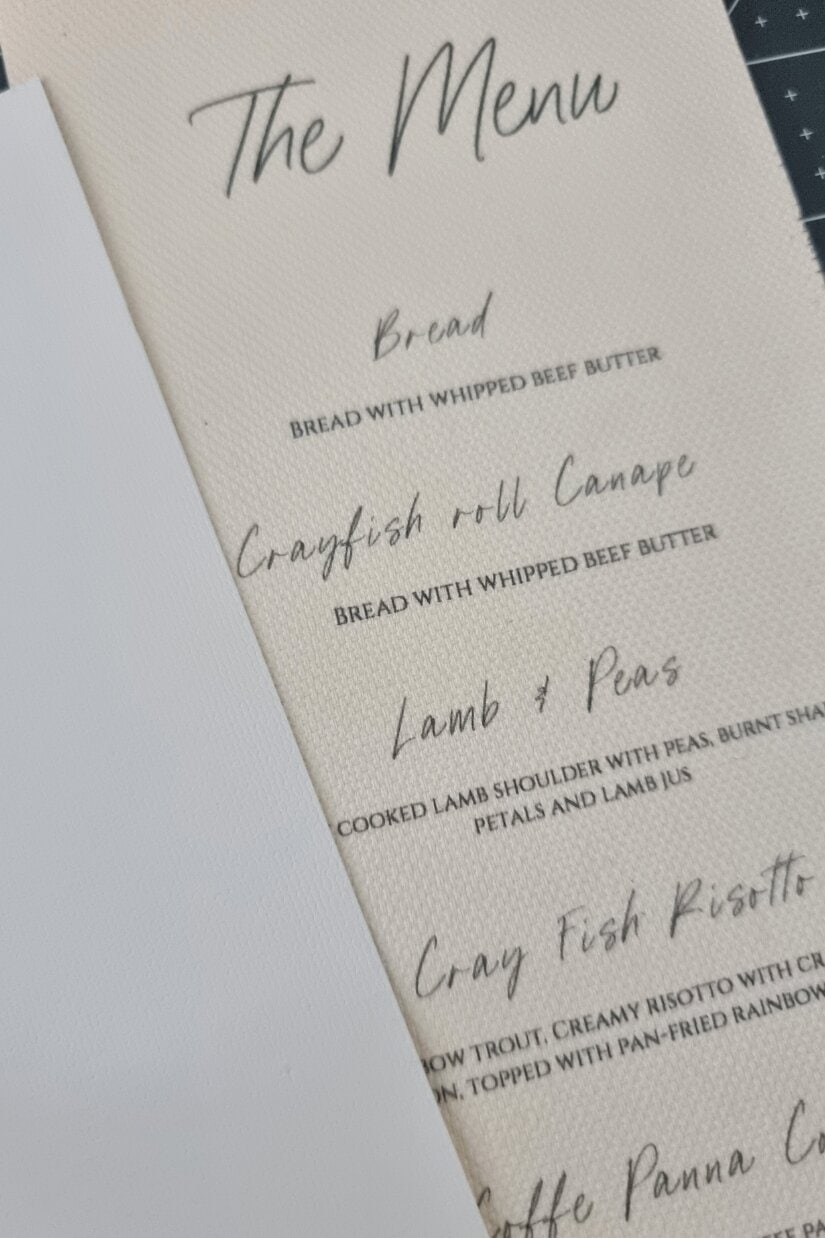
You don’t need real linen to get a luxe finish. Cotton printable canvas stock is a fibre paper that prints like a dream on a home inkjet and frays like fabric.
Use the natural canvas face for a linen-like texture or the coated white face for a brighter, crisper look. Because you’ll print three menus per sheet, each one comes in around 30p/30¢—without skimping on style.
Quick overview
What we’re making: Linen-style menus with soft, frayed edges
Skill level: Beginner
Time: ~3–5 minutes per menu (after setup)
Approx. cost: ~£/$0.30 each (3-up per sheet)
Best for: Minimal, modern, textured tablescapes in any season
Materials & Tools
Materials
- Cotton printable canvas sheets (300–320gsm), double-sided
- Canvas side: natural, linen-like texture (my favourite for this)
- White coated side: brighter white, slightly smoother (extra-crisp type)
- Menu design (use my free 3-up templates in A4 or US Letter, or any 5×9 in design)
- Optional: wax seals, place-name tags, ribbon/twine
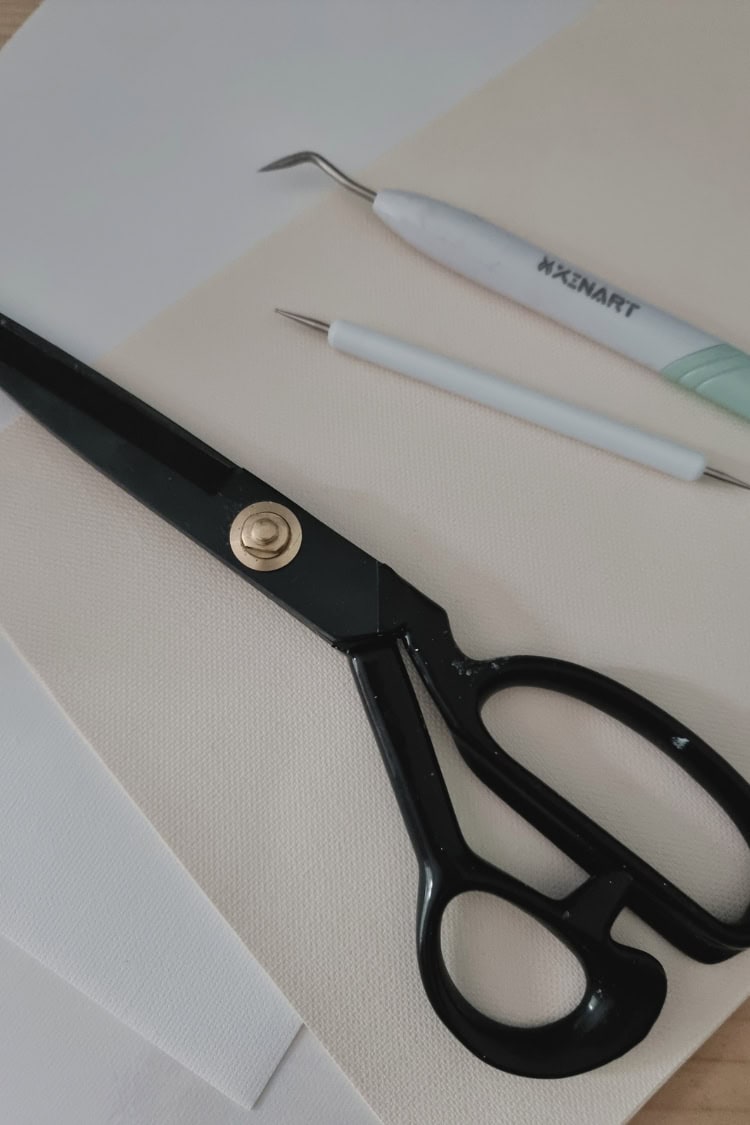
Tools
- Inkjet printer
- Scissors or paper slicer (guillotine/rotary)
- Seam ripper or pointed tool (pin/needle/awl) for fraying
Before you start
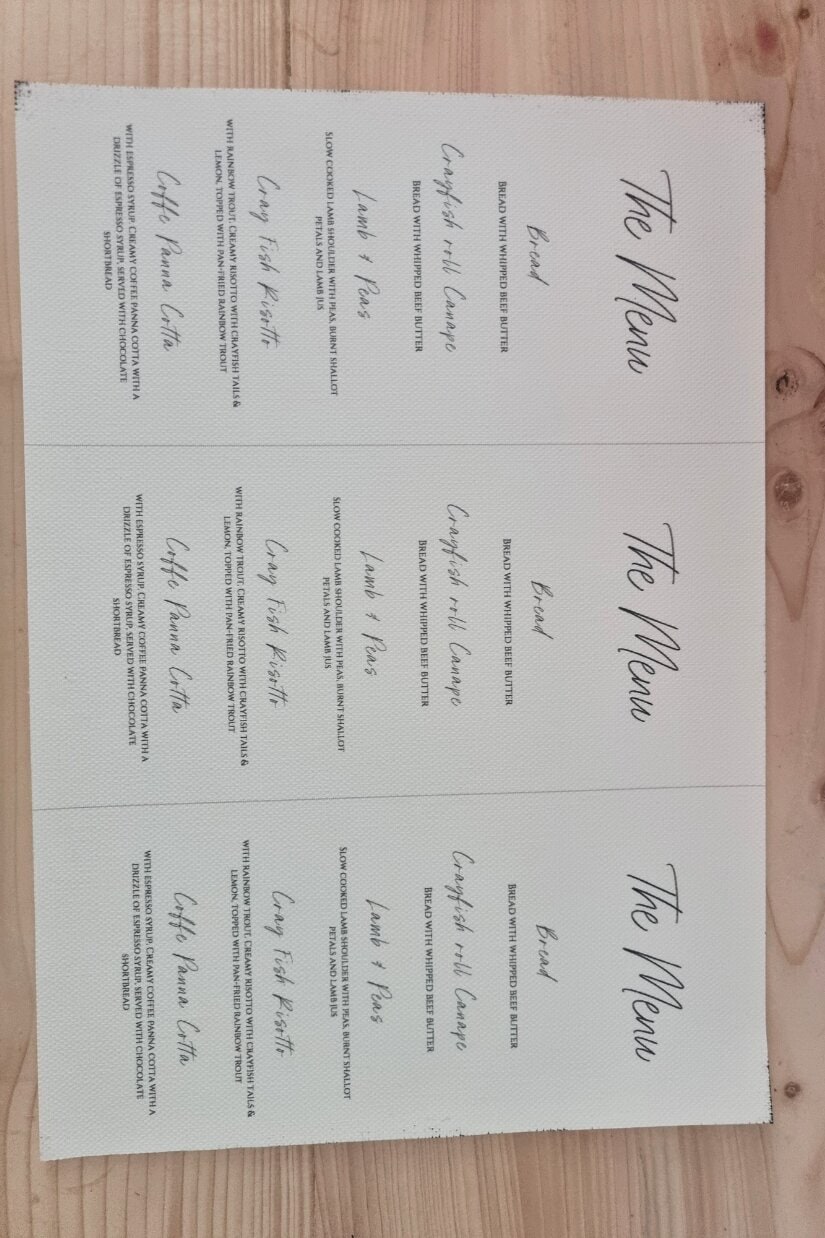
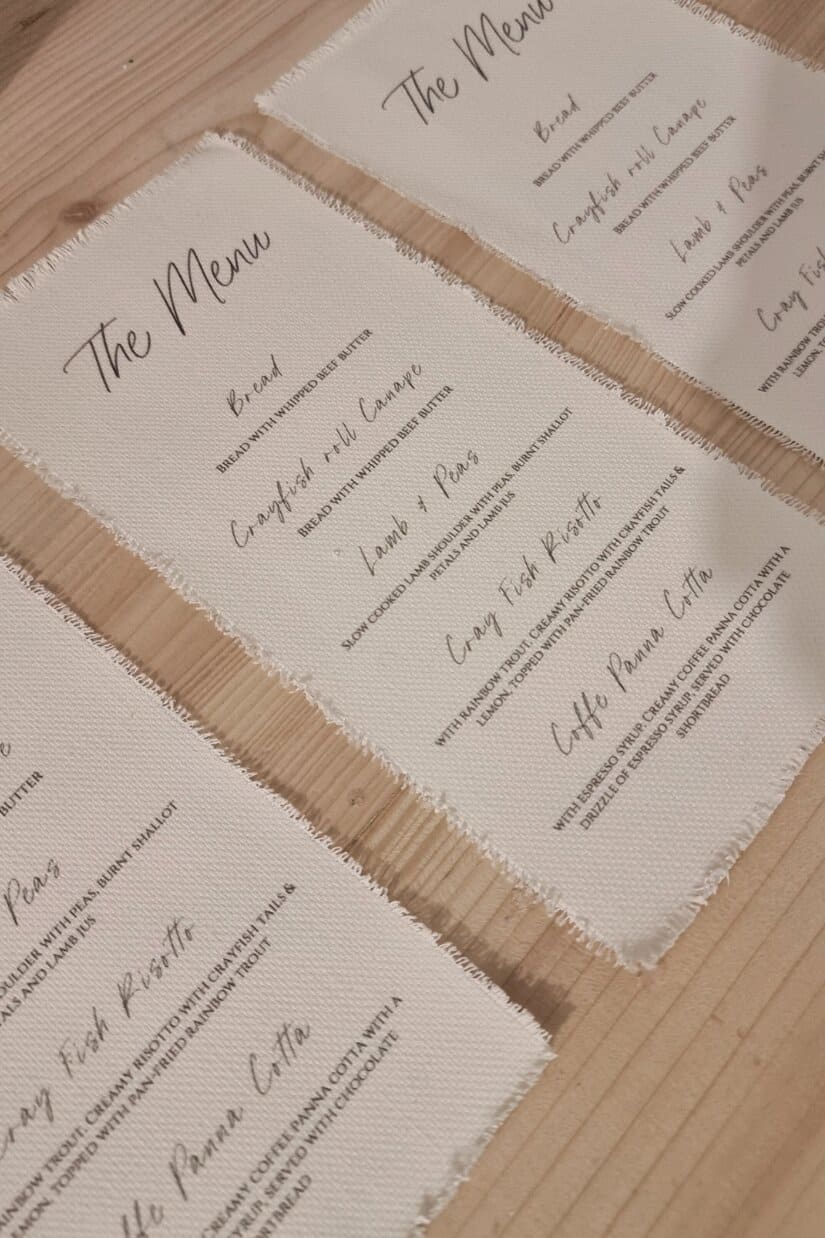
- Sizes: Traditional menus are 5×9 in. To save time and paper, my templates fit 3 per sheet (A4 or US Letter).
- Templates: Grab the A4 and US Letter files with trim + fray guides (below).
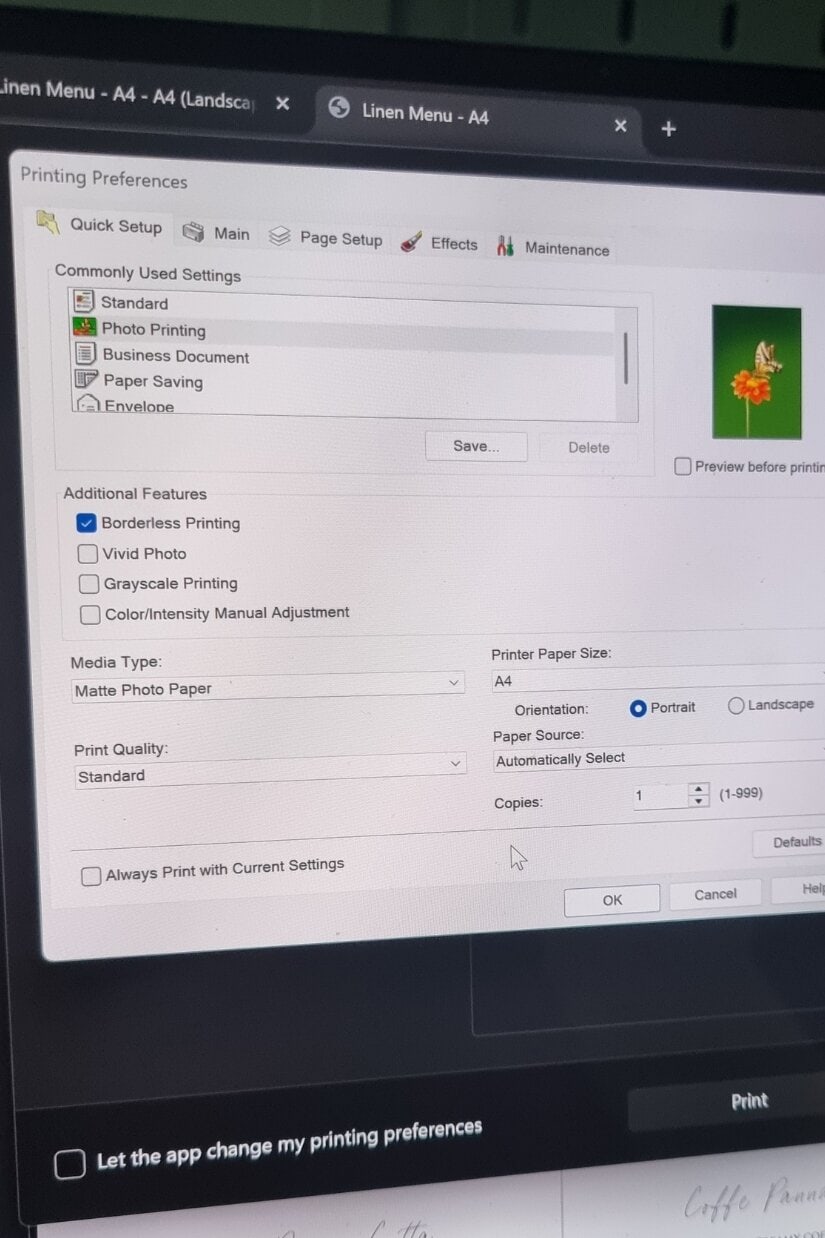
- Print settings: In your printer dialog select Quality: High/Best. Paper type: Matte Photo (or Canvas if offered).
- Test first: Print one sheet to check colour density and drying time.
- Pro tip: Print on the canvas side for linen texture; choose the white side if you want a brighter look.
Step-by-step method
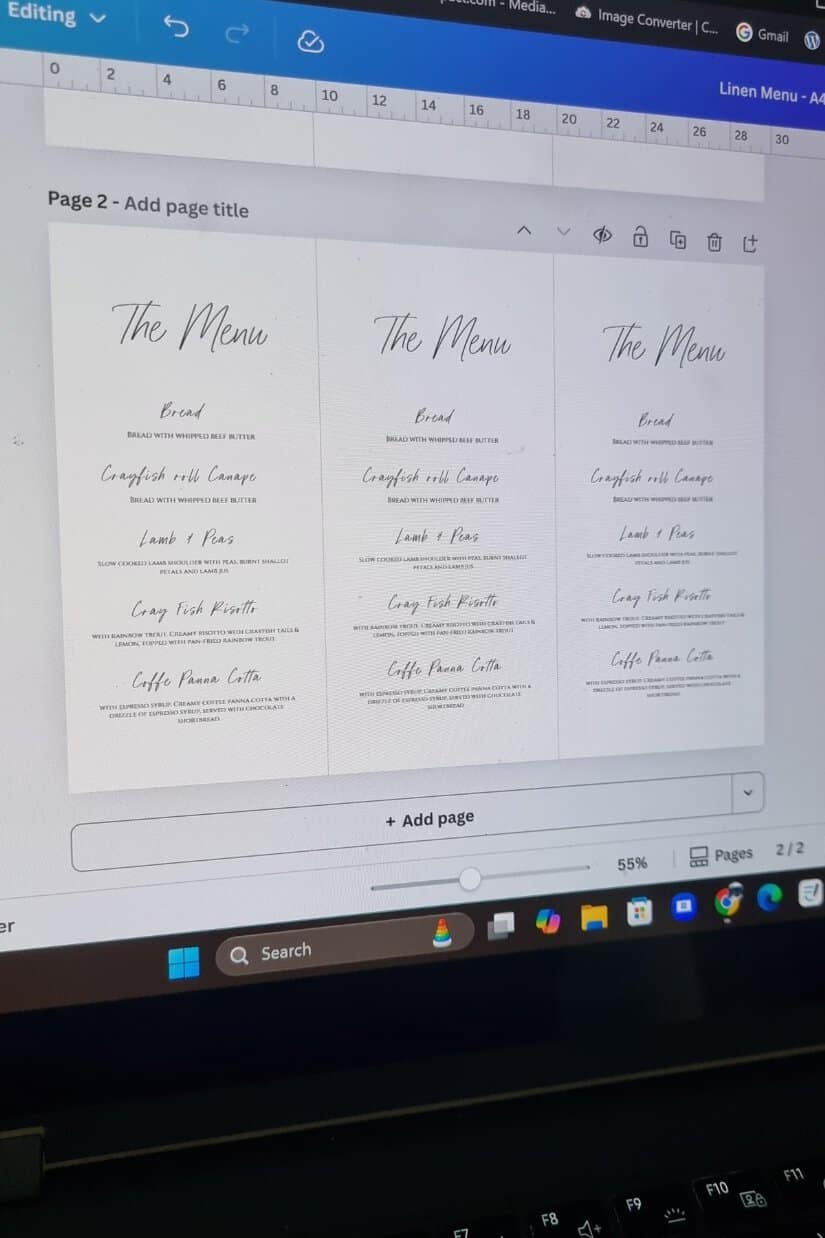
1) Design your menu
Open the A4 or US Letter 3-up template and drop in your design. Keep text at least 3–4 mm inside the trim line.
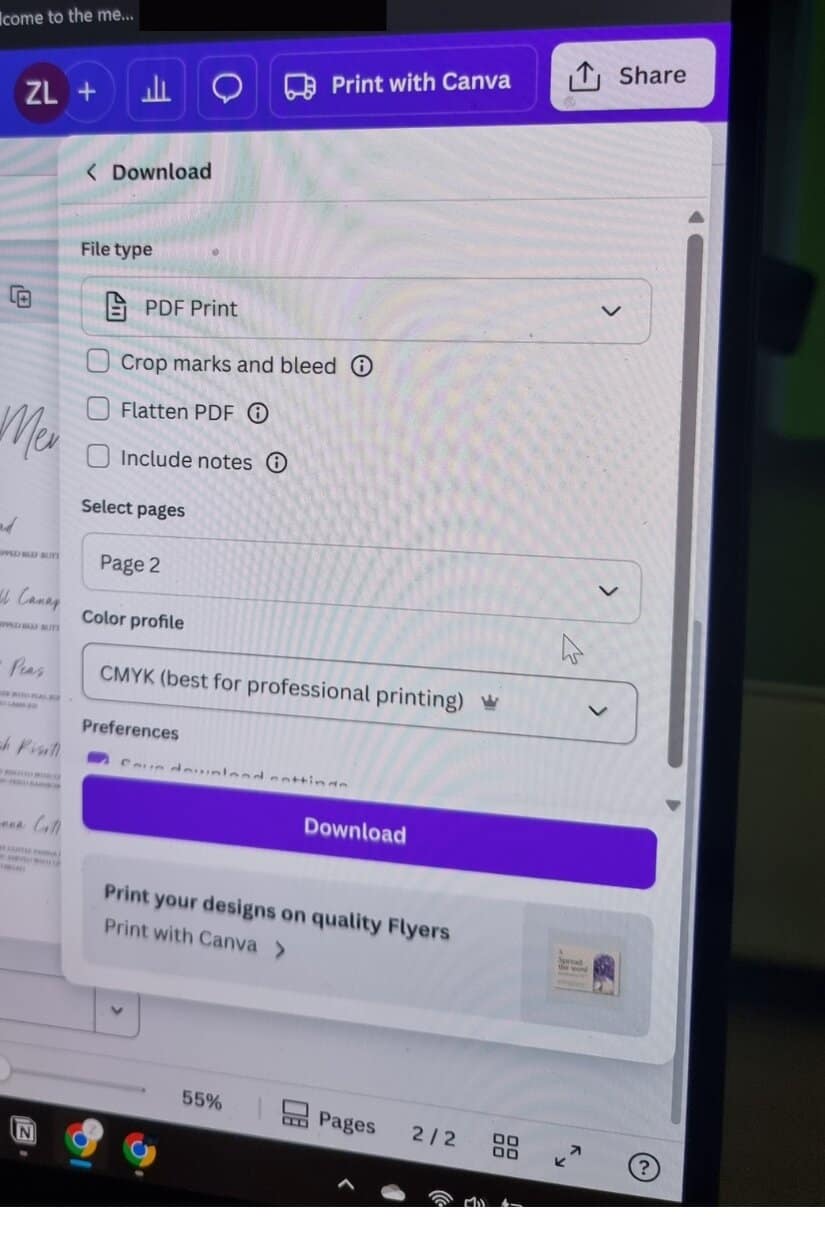
2) Set the printer correctly
Choose High/Best quality and Matte Photo/Canvas media. This gives saturated ink and cleaner edges on textured stock.
3) Print a test
Print on the canvas side first. Let it air-dry flat for 1–2 minutes. If you prefer brighter white, test the coated white side and compare.
4) Batch print
Print the full run. Lift each sheet off the output tray as it finishes to avoid any fresh-ink transfer onto the next sheet.
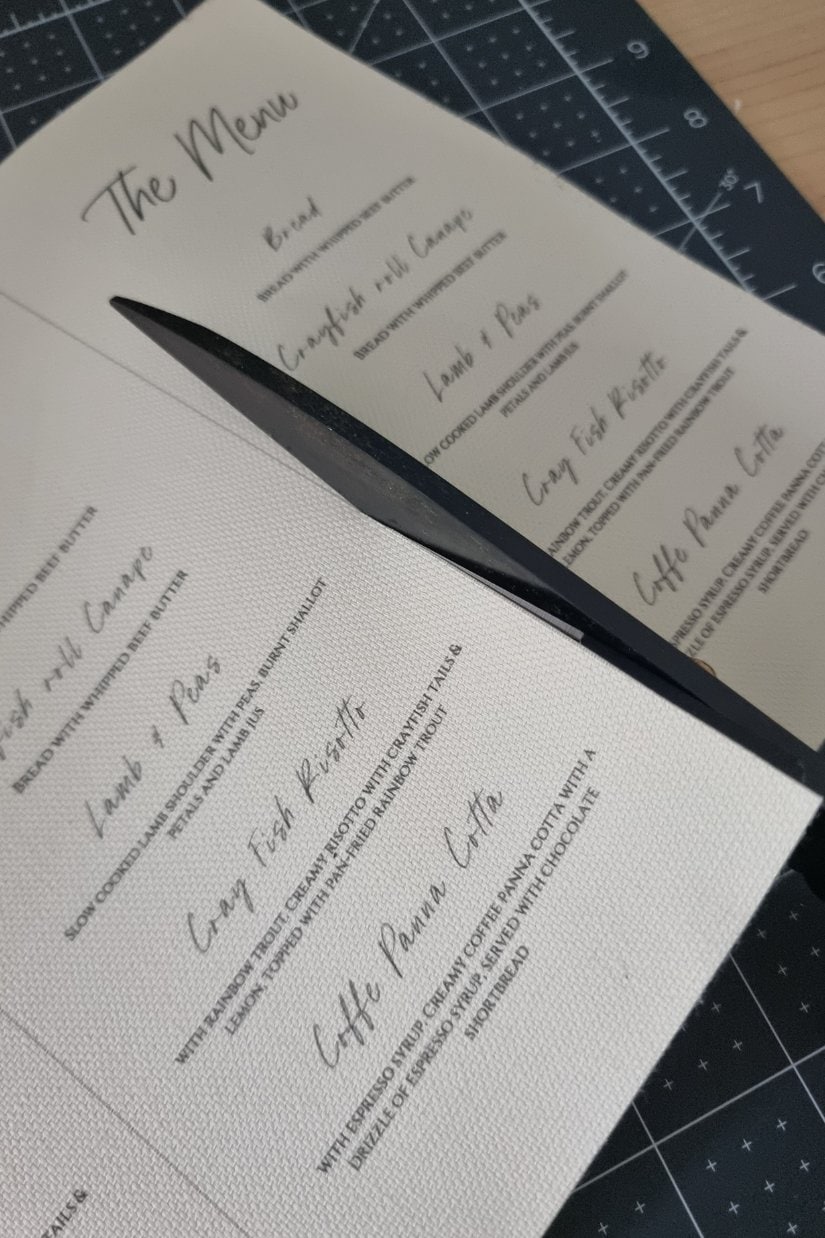
5) Trim to size
Use scissors for speed or a paper slicer for perfectly straight cuts. Follow the template’s trim marks.
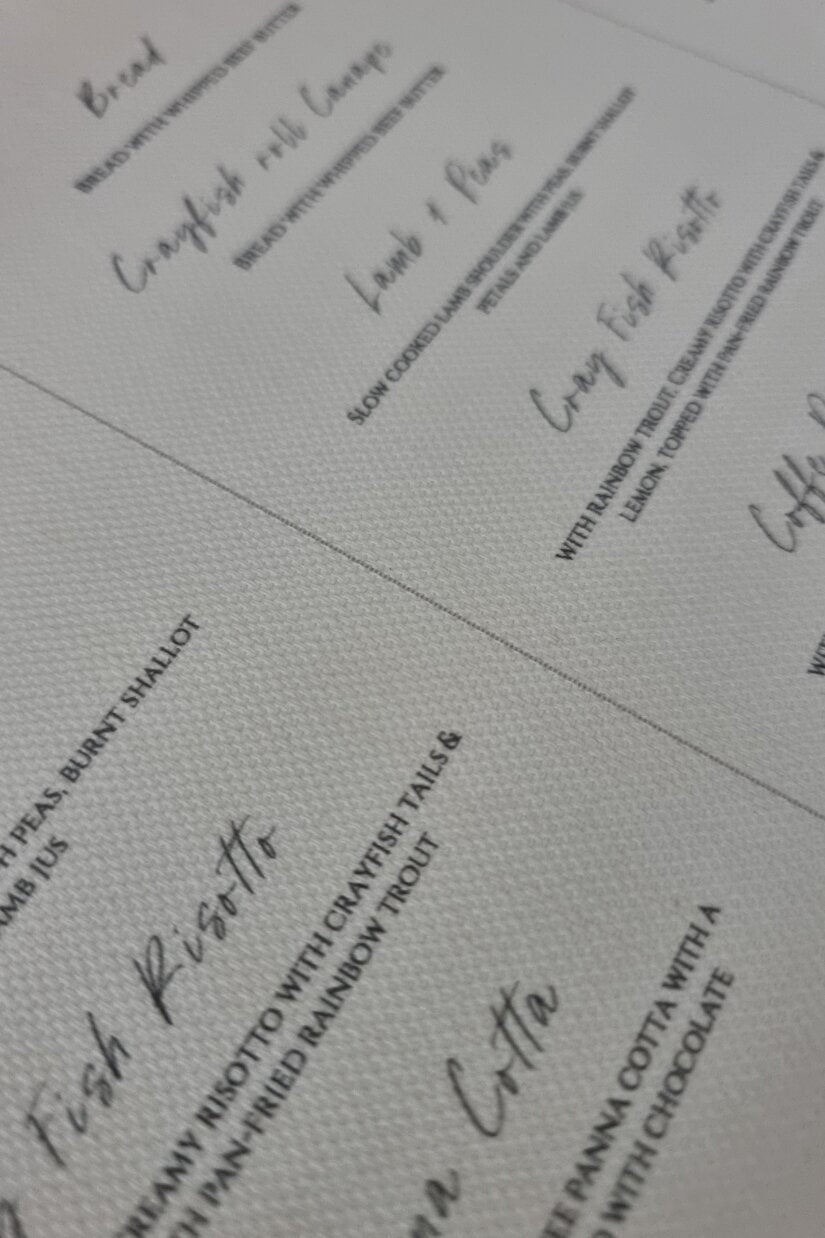
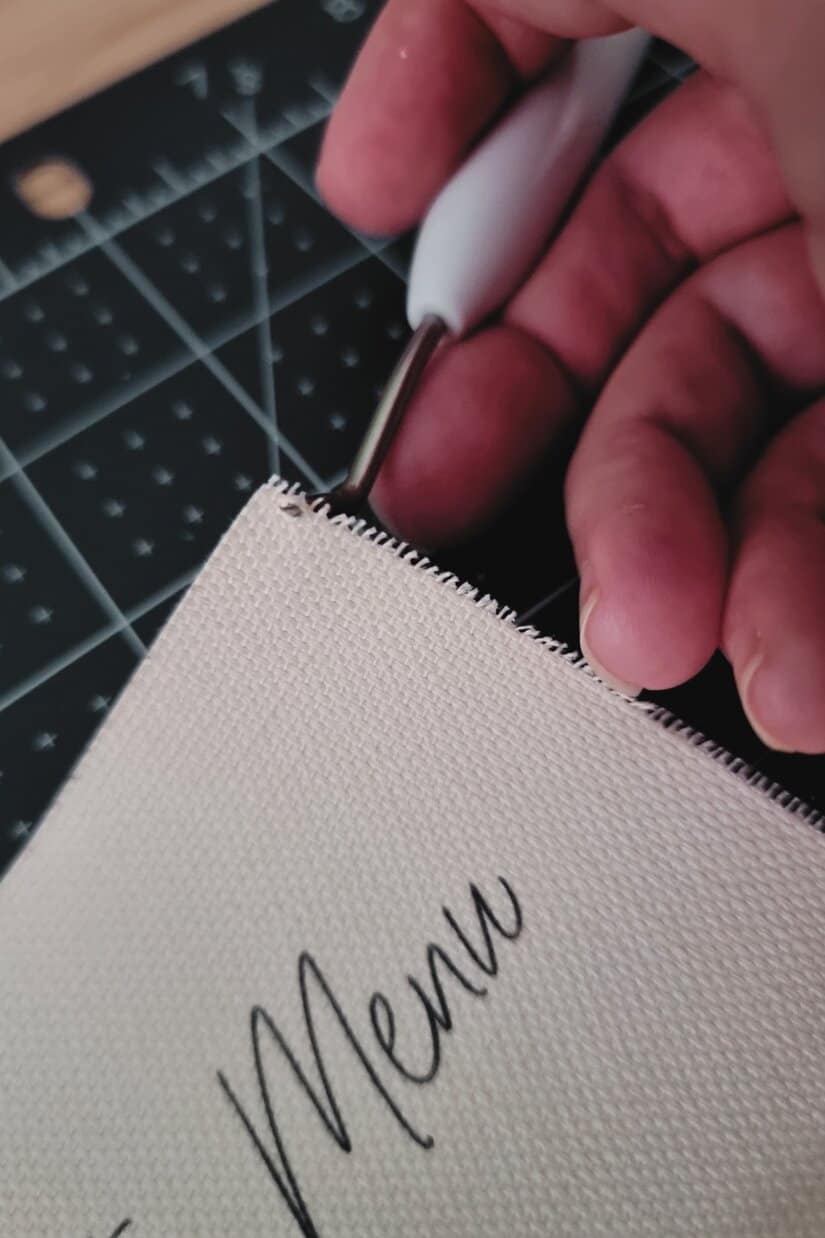
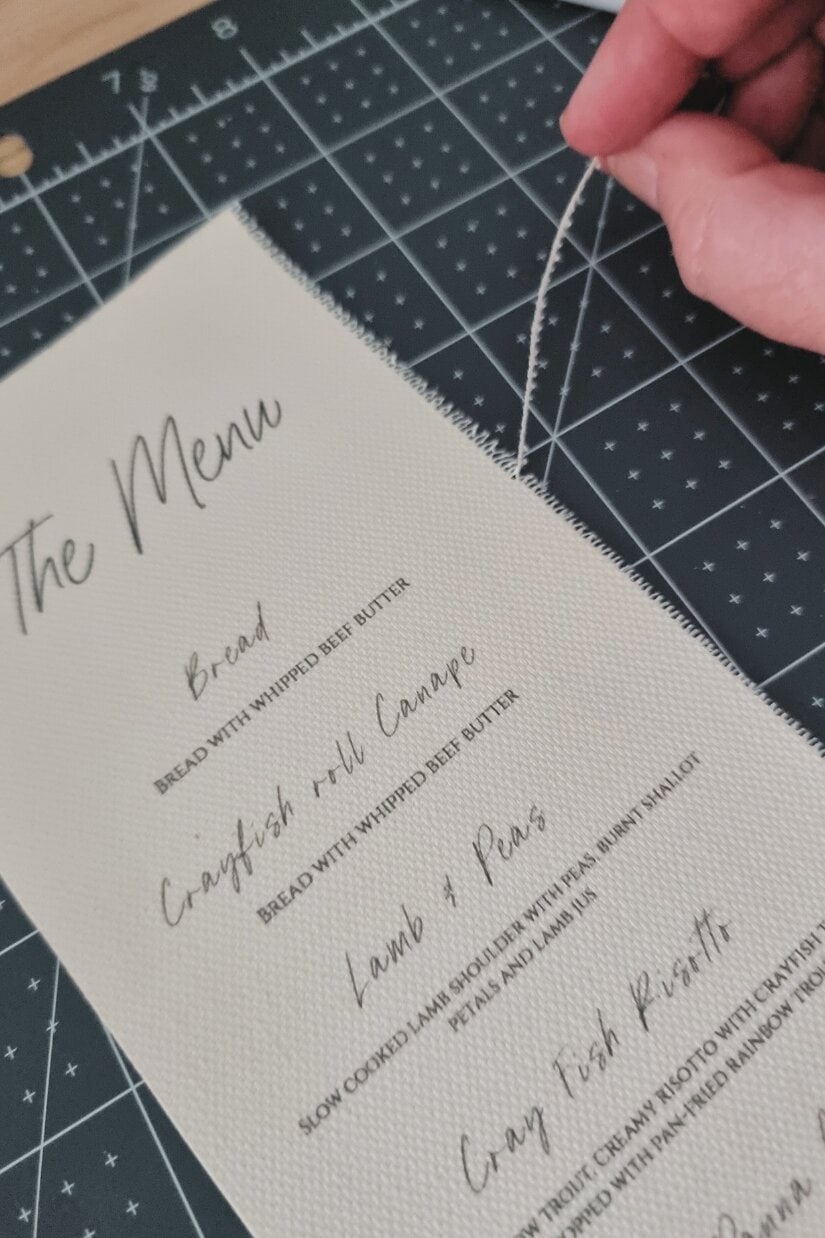
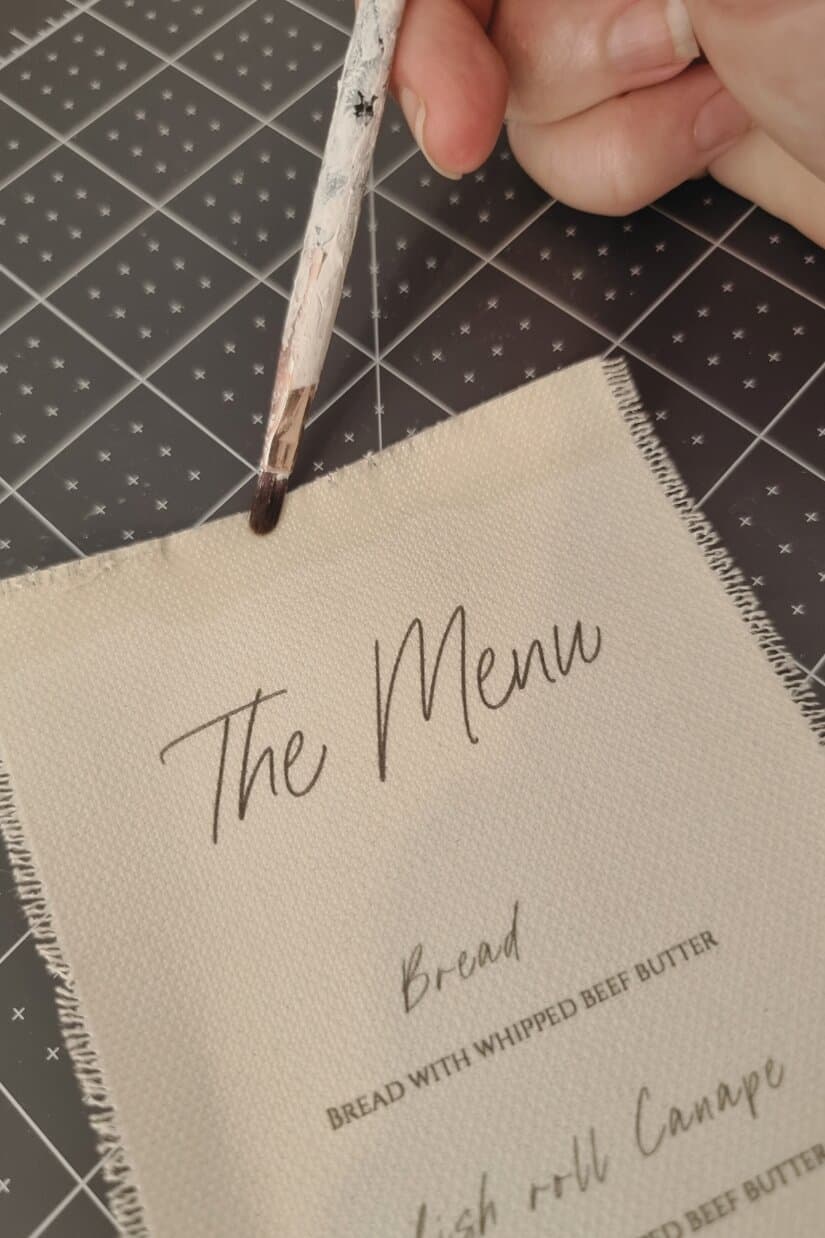
6) Fray the edges
At each edge, start the fray with a seam ripper or pin. Gently pull 3–4 threads along every side for a soft, linen-style fringe.
If the edge is stubborn, very lightly dampen the edge only (not the printed area) to loosen fibres, then fray.
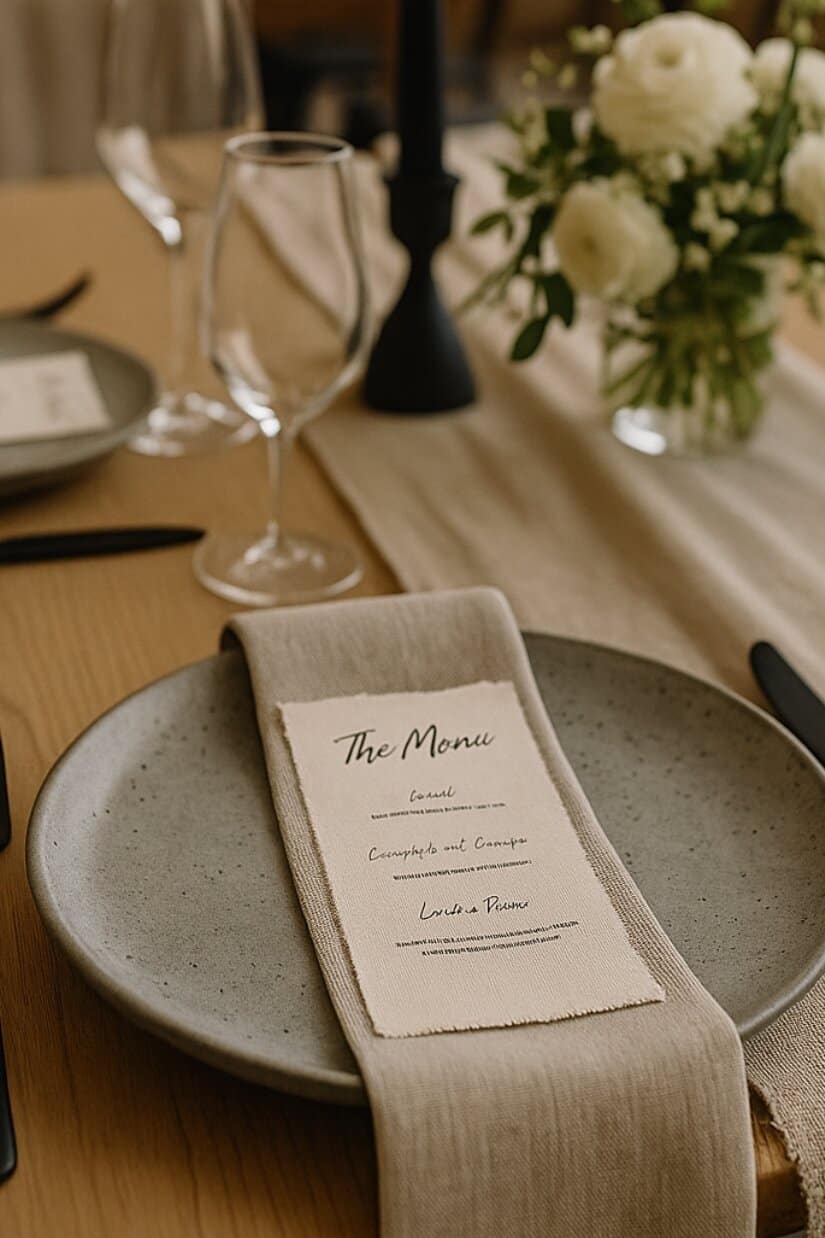
7) Style and flatten
If needed, stack menus and place a heavy book on top for 10 minutes. Add a wax-seal place name, thread a ribbon, or tuck under napkins.
Troubleshooting & pro tips
- Soft/blurred type: Use High/Best quality; allow longer dry time; print on the white side for maximum crispness.
- Ink transfer/marking: Lift each sheet as it exits; don’t stack while still warm.
- Fray won’t start: Use a pin to tease a single thread, then pull gently; lightly dampen the edge only.
- Edges too fluffy: Pull fewer threads (2–3 per side) and trim flyaways.
- Slight curl: Press a stack under a heavy book for 10–20 minutes.
Styling & variations
Keep it minimal (black on natural “linen”), go moody (charcoal, forest, oxblood), or add a fine border or monogram. For a finished place setting, pair with a wax-seal name tag or match to your table numbers.
Want to level up or try a different texture?
- Printing on real linen fabric — a little trickier, gorgeous texture (full guide on the blog).
- Heat-press “linen” look with vinyl — super crisp, tactile finish; needs a Cricut/similar (or use pre-cut vinyl). I’ve got a step-by-step for that too.
- Menu + place name ideas — styling combos that photograph beautifully.
Download & printables
- A4 Menu Template (3-up) — with trim + fray guides
- US Letter Menu Template (3-up) — with trim + fray guides
FAQs
Do I need a cutting machine?
No. Scissors or a paper slicer are perfect.
Will this work on a laser printer?
This stock is designed for inkjet. Laser printers can warp coatings—stick to inkjet.
Can I print double-sided?
You can, but the frayed look is best single-sided. If you do print both sides, extend drying time.
What if I want a cleaner, bright-white menu?
Print on the coated white side. You’ll get crisper type and a whiter base; the texture will be subtler.
Are they OK outdoors?
They’re fibre-based—keep dry. If needed, a very light matte fixative can help, but always test first as it can change the feel.
Finished? Show me!
If you make these, tag @UrbanWeddingCo so I can share your setup. Save this post to Pinterest for later, and explore my Menu + Place Name ideas for styling the final look.