
Creating a wedding website used to mean paying for a platform, choosing from limited designs and hoping it looked good on mobile.
You don’t need to do that anymore.
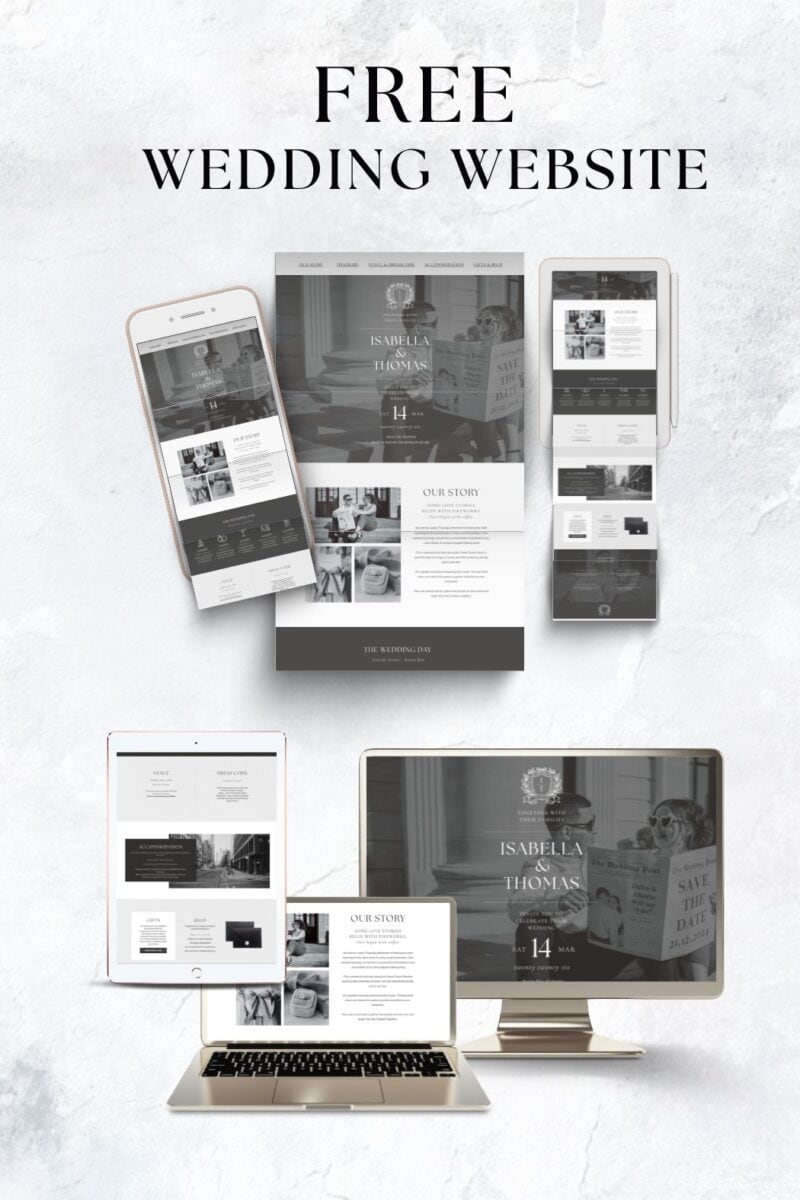
If you want a clean, modern wedding website without monthly fees or technical setup, you can build one for free using Canva.
With the right template, the structure is already done. You just personalise it, publish it and share the link.
In this guide, I’ll walk you through exactly how to create a free wedding website using an editable Canva template, how to customise it properly and what to include before you send it to guests.
By the end, you’ll have a functional, polished site that keeps all your wedding details in one place without adding another paid platform to your budget.
GRAB YOUR FREE WEDDING WEBSITE
What You Get With This Free Canva Wedding Website Template
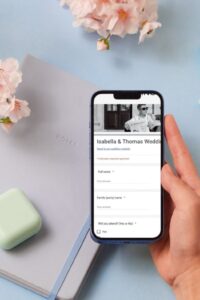
If you want a simple, modern wedding website without paying monthly fees or learning code, this free Canva wedding website template is designed to do exactly that.
You can preview the live demo here
Get your free Canva wedding website template here
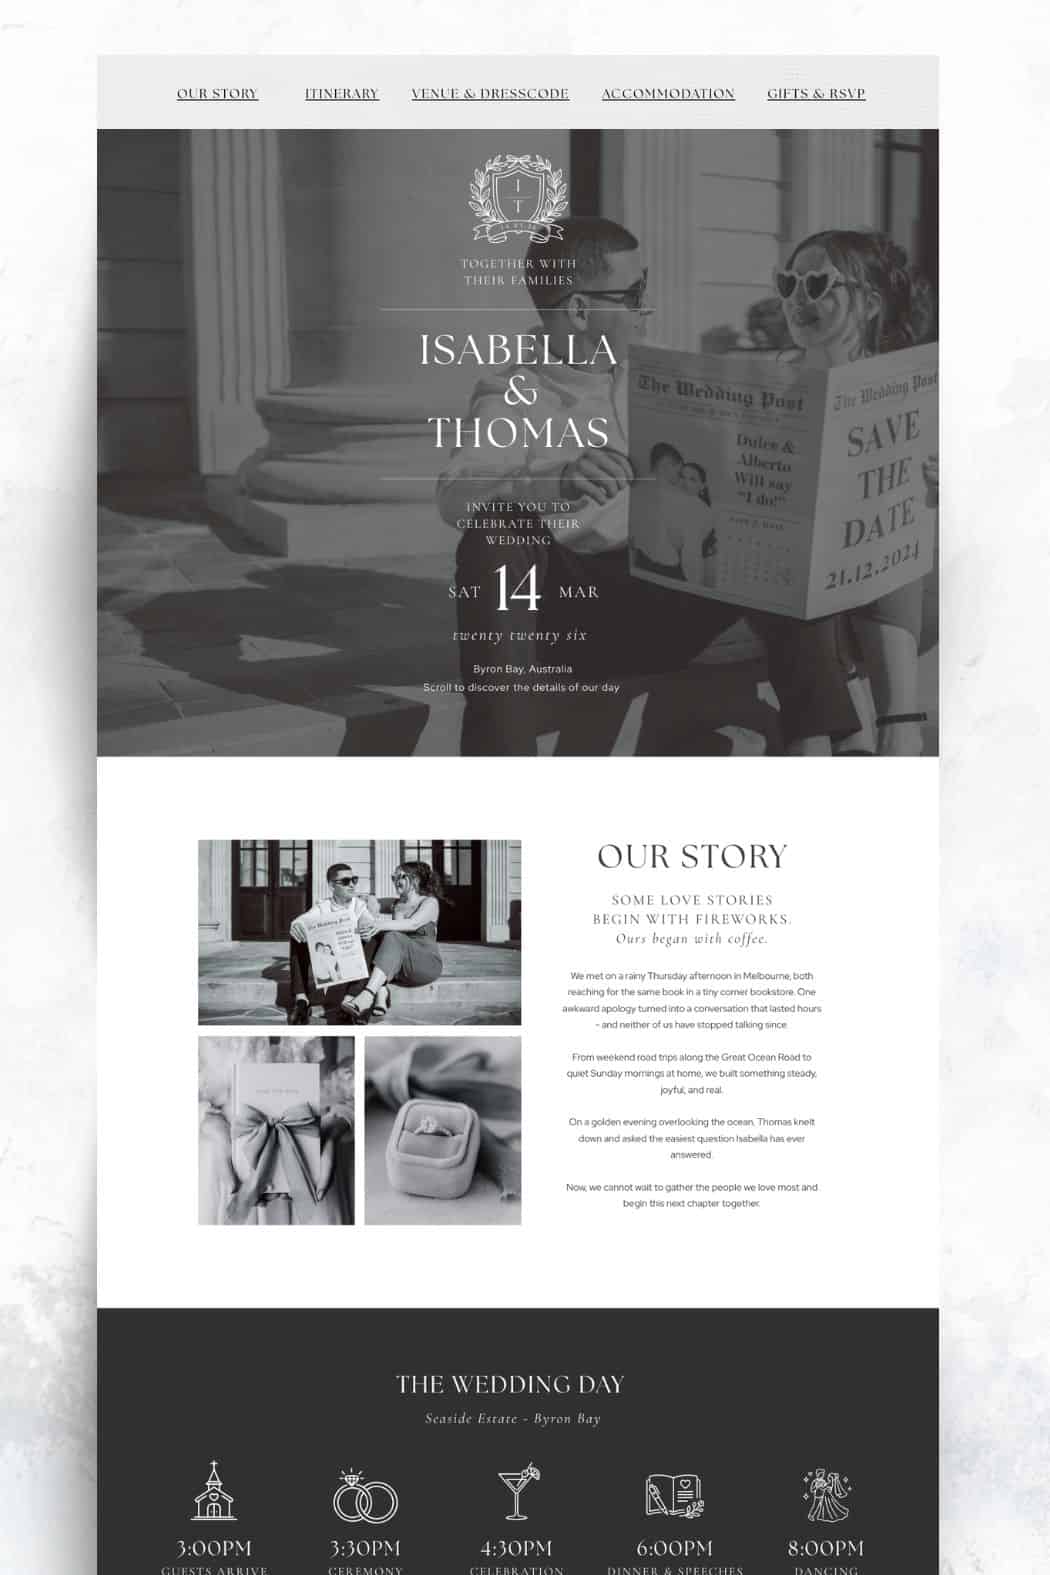
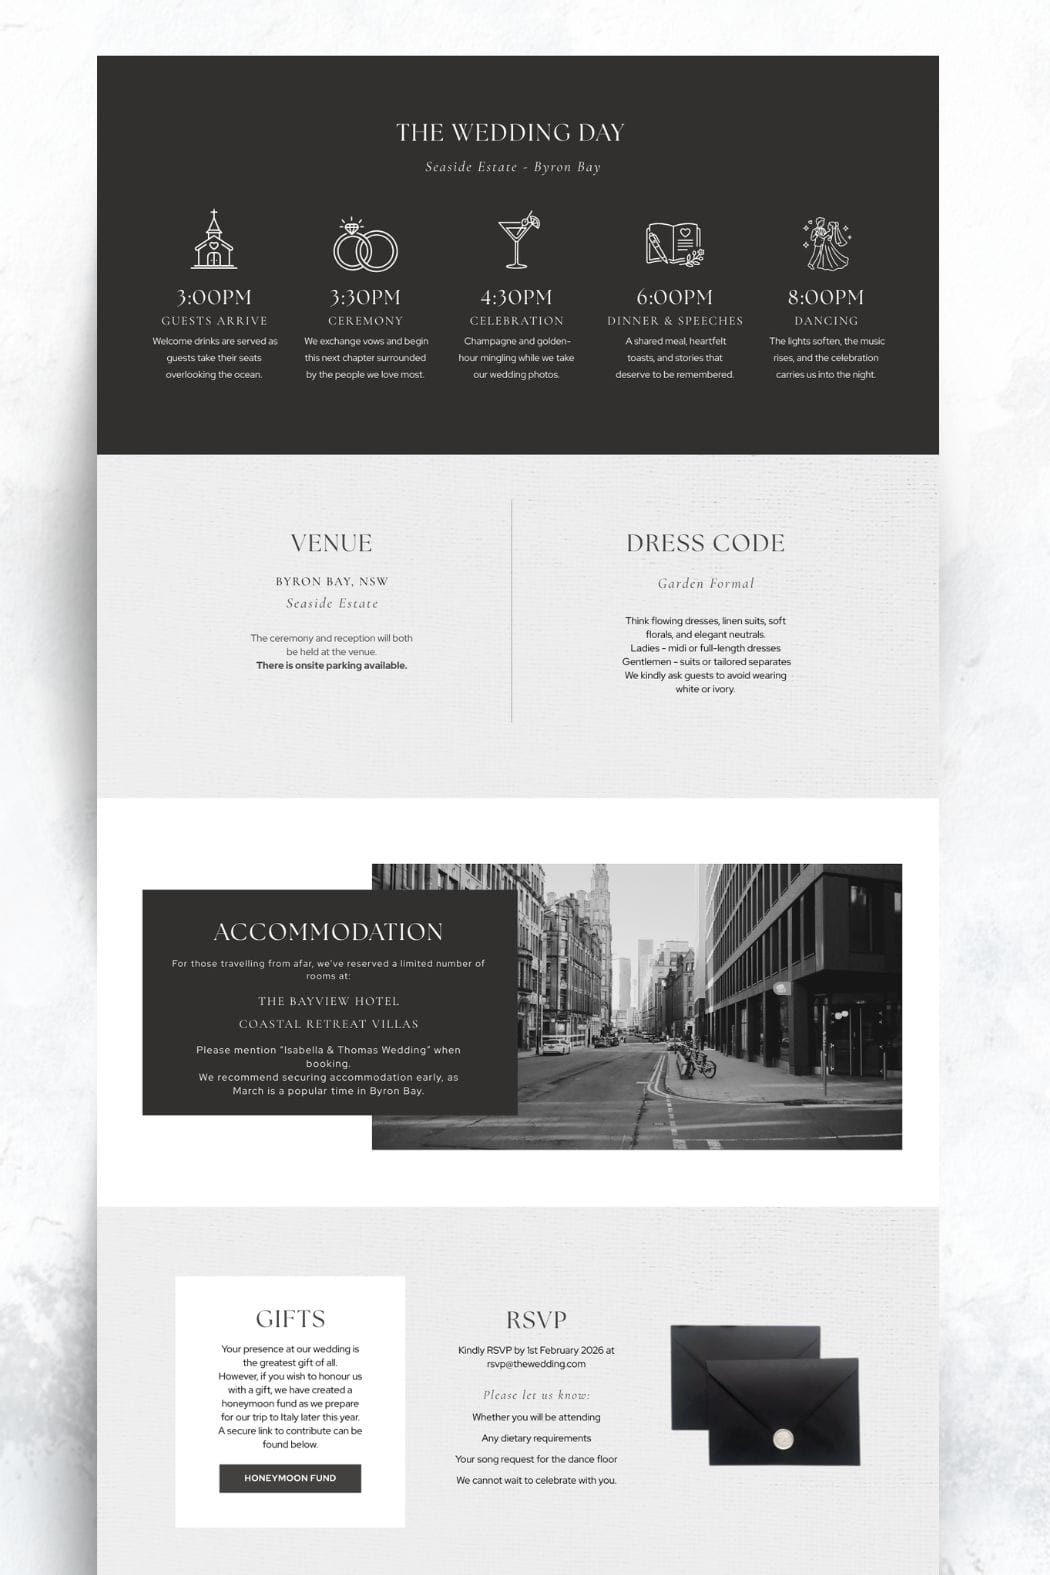
This is a fully editable Canva website layout that includes:
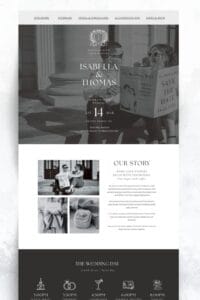
• A clean homepage with your names and wedding date
• A welcome or “our story” section
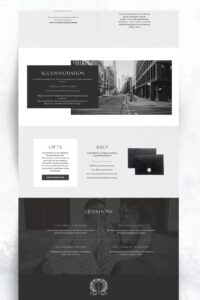
• Ceremony and reception details
• Venue information with space for addresses and directions
• A schedule or timeline section
• A dedicated RSVP direction area
• Travel or accommodation information
• Image placeholders for engagement photos or venue shots
The layout is designed to feel modern and minimal, so it works for city weddings, destination weddings, and contemporary celebrations.
You do not need to know any coding. Everything is edited directly inside Canva using drag-and-drop tools. If you can edit a Canva Instagram post, you can customise this website.
It is mobile friendly by default, which matters because most guests will view your wedding website on their phone. The structure is already set up to read clearly on smaller screens.
The template is completely free. To access the editable Canva version, you’ll sign up with your email and receive the direct template link. From there, you can duplicate it into your own Canva account and personalise it in minutes.
This gives you a professional-looking wedding website without ongoing platform fees, complicated builders, or technical setup.
How to Edit Your Free Canva Wedding Website (Step-by-Step)
Once you’ve signed up and received the template link, the rest is straightforward. Everything is edited inside Canva, and a free Canva account works perfectly.
1. Open the Template
Click the access link you receive after signing up. It will open directly in Canva.
Select “Use template” to duplicate it into your own account. This creates your own editable version so you can make changes without affecting the original design.
You’ll now see the full website layout in Canva’s website editor view.
2. Edit Your Names, Date and Welcome Text
Start at the homepage.
Click directly into the text boxes to change:
- Your names
- Your wedding date
- The short welcome or intro message
Keep this section simple and clear. Guests mainly want to confirm they are in the right place and see the key details immediately.
3. Update Photos and Adjust the Style
The easiest way to swap photos in Canva is simple.
First, upload your engagement or venue photos to Canva using the Uploads tab. Once they’re in your library, drag and drop the new image directly over the existing photo in the template. Canva will automatically replace it while keeping the layout and sizing intact.
Repeat this for each image section until the website reflects your own photos.
You can then refine the overall look by adjusting:
- Fonts to match your invitations or stationery
- Colours to reflect your wedding palette
- Background sections if you prefer a lighter, darker, or more minimal feel
If you’re unsure where to start, keep it simple. Use no more than two fonts and two to three main colours. That keeps the website cohesive and aligned with the rest of your wedding design.
4. Add, Duplicate or Remove Sections
Canva websites are built in sections.
You can:
- Duplicate a section if you want to add more content
- Rename headings such as “Venue,” “Schedule,” or “Travel”
- Delete sections you don’t need
For example, if you are not hosting a welcome dinner, remove that section. If you have multiple events across a weekend, duplicate the schedule section and customise it.
This keeps your website relevant and uncluttered.
5. Add Ceremony and Reception Details
In the event section, input:
- Ceremony time
- Reception start time
- Full venue names
- Complete addresses
You can make the address clickable by linking it to Google Maps. Highlight the address text, click the link icon in Canva, and paste the Google Maps URL. This allows guests to tap and open directions directly from their phone.
If you have separate ceremony and reception venues, clearly label each one to avoid confusion.
6. Update the Navigation Menu
At the top of the website, you’ll see a clickable navigation menu. Each item links directly to a section on the page.
If you remove, rename, or duplicate sections, you must update the menu so everything matches correctly.
To do this:
- Click on the menu text in the header
- Edit the wording to match your section titles
- Re-link each menu item to the correct section anchor in Canva
If you delete a section such as “Travel,” remove that menu item as well. If you add a new section like “Welcome Dinner,” duplicate an existing menu link and update the label and destination.
Always test the navigation before publishing. Click each menu item in preview mode to make sure it scrolls to the correct section.
This keeps the website clean and prevents guests from clicking links that lead nowhere.
6. Save and Publish Your Website
When you’re ready to go live, click “Publish Website” at the top of Canva.
You’ll be able to:
- Edit the website name
- Use Canva’s free domain option (which will look similar to this preview
- Or choose to connect or purchase a custom domain if you want something more personalised
Once published, Canva generates a live link that you can copy and send to guests.
If you make updates later, simply republish. The same link will stay active, so you do not need to resend a new URL each time you edit.
There’s no hosting setup, no plugins, and no technical installation. Just publish and share.
How to Make Your Wedding Website Feel More Personal
Once the main details are in place, you can take things a step further and make the website feel fully aligned with your wedding style rather than just “filled in.”
This is where it moves from functional to intentional.
Use Your Actual Wedding Fonts
If you’re using specific fonts on your invitations, signage, or menus, upload those font files into Canva (if you have Canva Pro) and apply them to your headings and body text.
If you’re using a free Canva account, choose similar fonts that match the tone:
- Serif fonts for classic or formal weddings
- Clean sans-serif fonts for modern city weddings
- Script fonts sparingly for romantic or traditional styles
Keep readability in mind. Headings can be decorative, body text should stay simple.
Change the Website to Match Your Wedding Colour Palette
Update:
- Background sections
- Button colours
- Divider lines
- Accent text
Use the same two or three core colours from your wedding palette. If your wedding is neutral with one statement colour, reflect that structure online.
Avoid introducing new colours that don’t appear anywhere else in your stationery. Consistency makes everything feel cohesive.
Add Extra Sections Based on Your Wedding
Every wedding is different. You can duplicate sections in Canva to add content that suits your plans. You can only have 10 sections but they can all be made longer if needed.
For example:
- A Welcome Dinner or Pre-Wedding Drinks section
- A Day-After Brunch page
- A Dress Code explanation with visual guidance
- A “Things to Do” guide for destination weddings
- A Wedding Party introduction
- A Song Request section linked to a form
If you are hosting multiple events across a weekend, create clear headings for each day to avoid confusion.
Refine the Structure for Guest Experience
Think about how guests will scroll.
The most important information should appear higher up:
- Date
- Location
- Schedule
- RSVP instructions
Supporting details like travel tips or local recommendations can come lower on the page.
Preview the website on mobile before publishing. If it feels long or cluttered, simplify. Clear beats decorative.
What to Include on Your Wedding Website
Before you publish your website, make sure it includes the information guests will actually look for. A clean design matters, but clarity matters more.
At minimum, your wedding website should cover:
- A short introduction or your story
- A clear event schedule with timings
- Venue names and full addresses
- Hotel or travel information if guests are coming from out of town
- Registry links
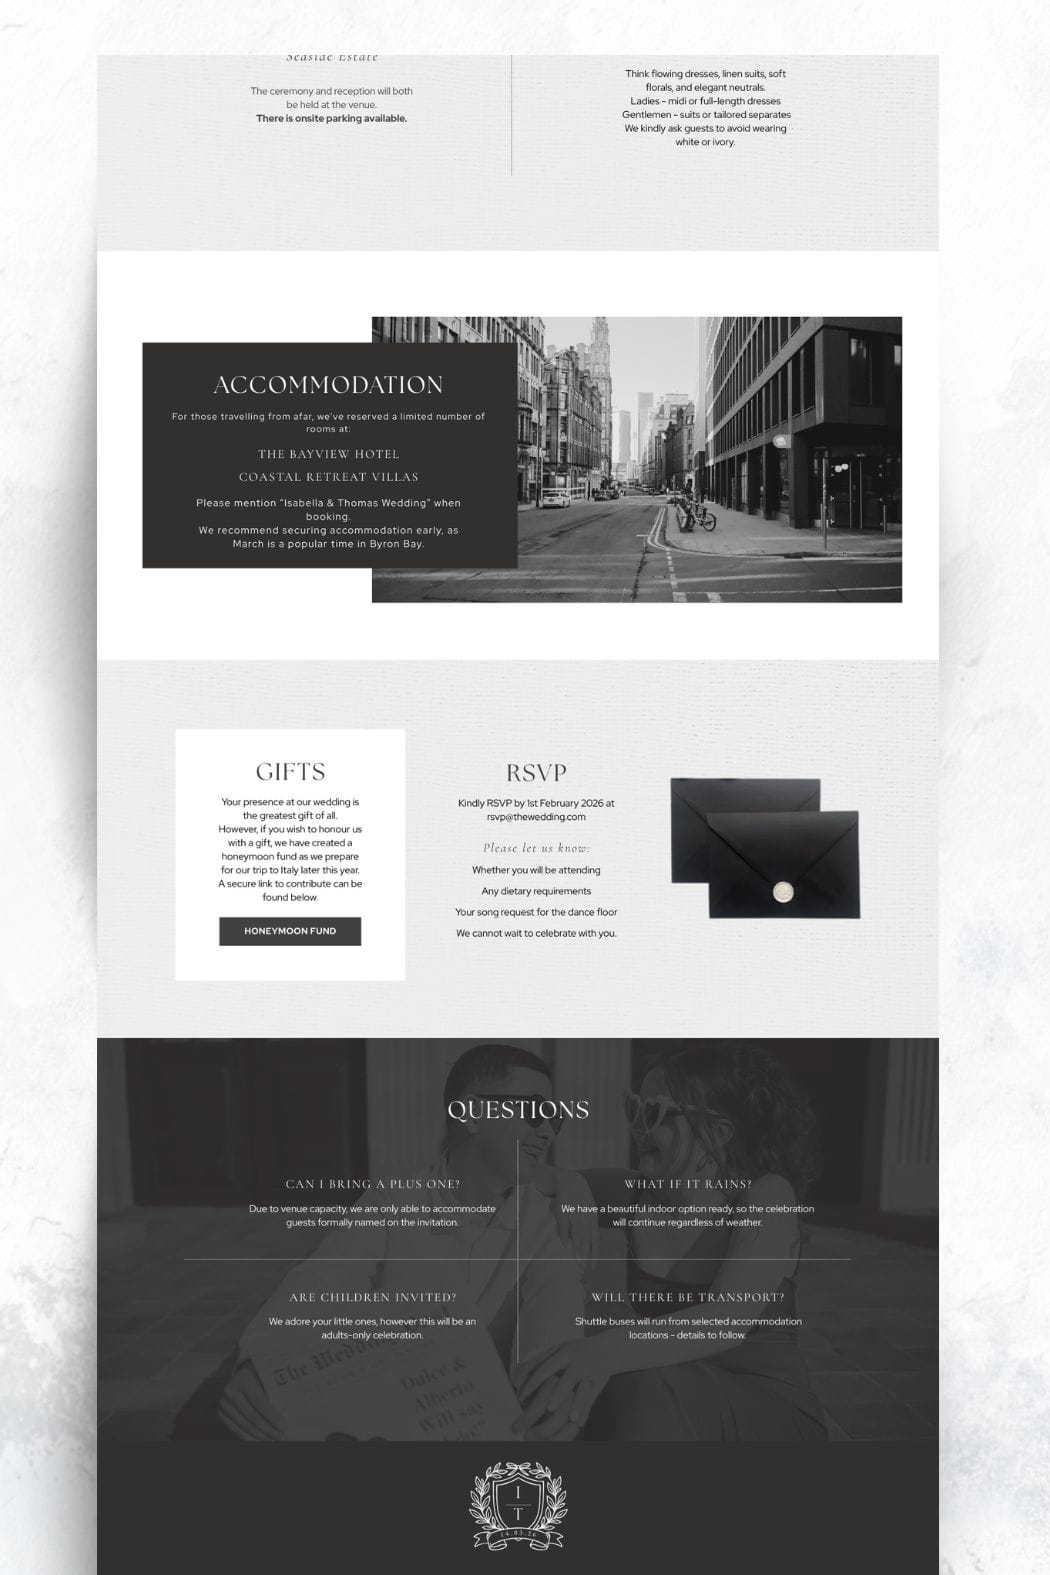
- An FAQ section covering dress code, children, parking and common questions
- Clear RSVP instructions
- Optional extras like a photo gallery or wedding party introductions
We go in to more detail in Must-Have Sections for Your Wedding Website
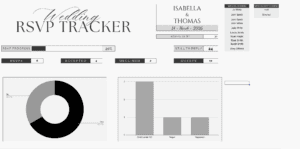
How to Collect RSVPs Through Your Wedding Website
Your website looks good. Now it needs to function.
When it comes to collecting RSVPs through a Canva wedding website, you have two main options:
• Add a built-in Canva RSVP form directly to your website
• Use Google Forms and link it from your site
You can place an RSVP form directly on the page and collect responses inside Canva, it links to a canva sheet. This keeps everything on your website and is ideal for simple attendance tracking.
If you prefer more advanced tracking, automatic spreadsheet management and easier exporting, Google Forms is still one of the most flexible free options available.
At a basic level, using Google Forms involves:
- Creating a Google Form for guest responses
- Customising questions for attendance, dietary requirements and optional song requests
- Linking the form clearly from your Canva website
- Automatically sending responses into Google Sheets
- Tracking acceptances and declines in real time
This keeps everything organised and eliminates manual tracking.
You can read the full step-by-step guide here:
How to Collect Wedding RSVPs Online for Free (Google Forms + Setup Guide)
That post walks through the complete setup process, including screenshots and form structure tips.
More blogs you will love!
- How to Chase Wedding RSVPs Politely (Without Feeling Awkward)
- Wedding RSVP Questions You Should Ask Guests

- The Simple Wedding RSVP Tracker Every Couple Needs
- How to Track Wedding RSVPs Without Losing Your Mind

- Common Wedding Website Mistakes Couples Make (And How to Avoid Them)
- Wedding Website Checklist: Everything to Include Before You Launch Your Site
- Wedding Website FAQ Examples Guests Actually Need

- How to Create a Digital Save the Date Evite (With Our Free Canva Template!)
- 10 Things Every Modern Wedding Website Needs