
If you’re planning your wedding and want to send save the dates with a personal touch, DIYing them is a great option.
Not only can you customize them to match your wedding theme, but they can also be more budget-friendly than ordering from a stationery company.
Whether you prefer something classic and elegant, fun and interactive, or completely unique, there’s a DIY save the date idea here for you.
Below, I’ve included step-by-step guides and templates for several easy DIY save the date ideas. For others, I’ll link to helpful blog posts that walk you through how to create them.
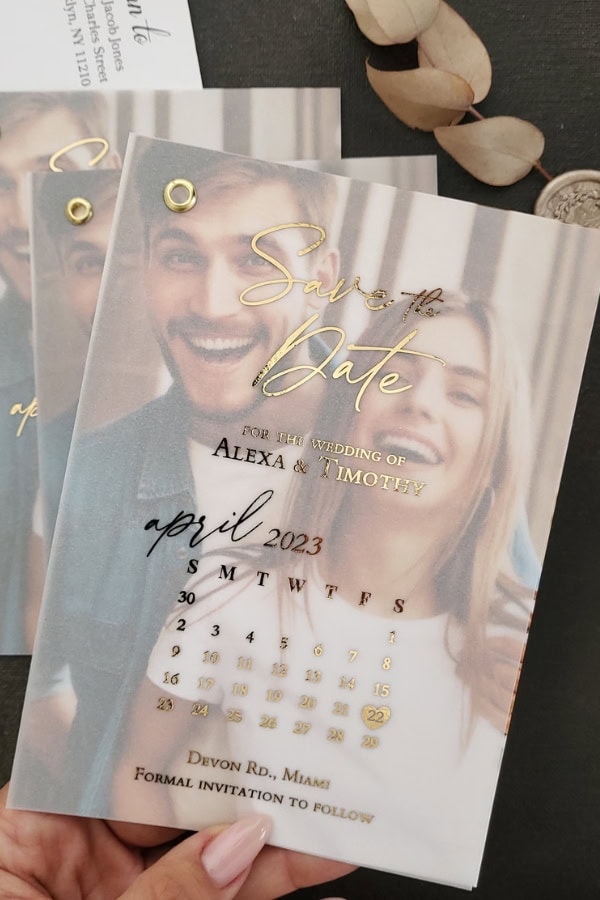
1. Photo with Vellum Overlay
This is a simple yet stylish save the date idea that lets your engagement photo shine while adding a delicate, modern touch with vellum. To create this, print your chosen engagement photo on high-quality cardstock or photo paper.
Then, print your wedding details on a sheet of translucent vellum and place it over the photo.
You can attach the vellum with a wax seal, mini gold paperclip, or hole punch and ribbon. If you have a Cricut or similar cutting machine, you can take this design to the next level by adding metallic foil lettering. This design works well for any wedding theme, from minimalist to vintage.
[Get the template and DIY guide here]
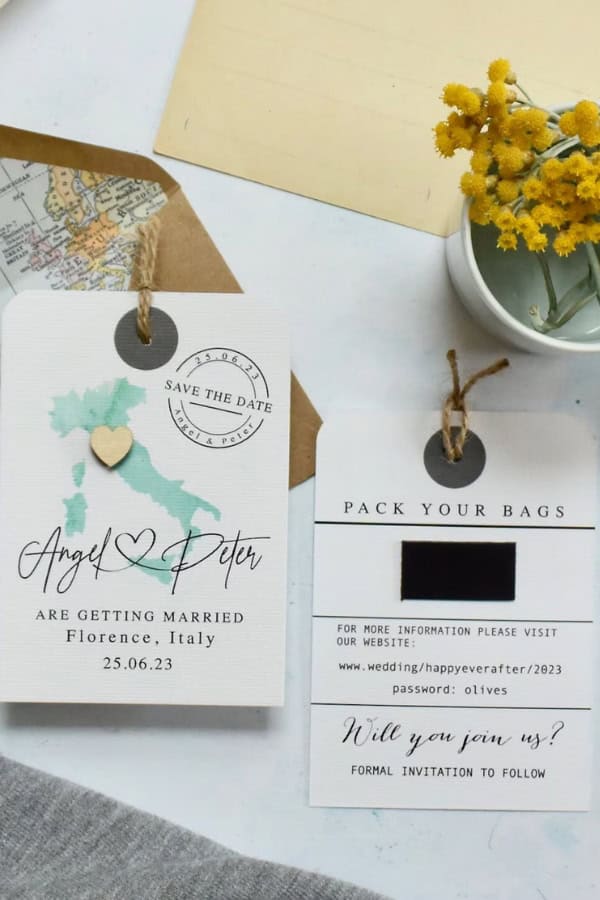
2. Luggage Tag Save the Date
For couples planning a destination wedding or who simply love to travel, luggage tag save the dates are a unique and fitting choice.
You can make these by designing a simple luggage tag layout with your wedding details and printing it on thick cardstock. If you prefer a more durable option, consider using kraft paper or faux leather tags.
Punch a hole in the tag and attach it to twine, ribbon, or a keychain ring. Some couples like to add an extra touch by incorporating a tiny airplane or compass charm. Guests can even keep these as mementos long after your wedding.
[Get the template and DIY guide here]
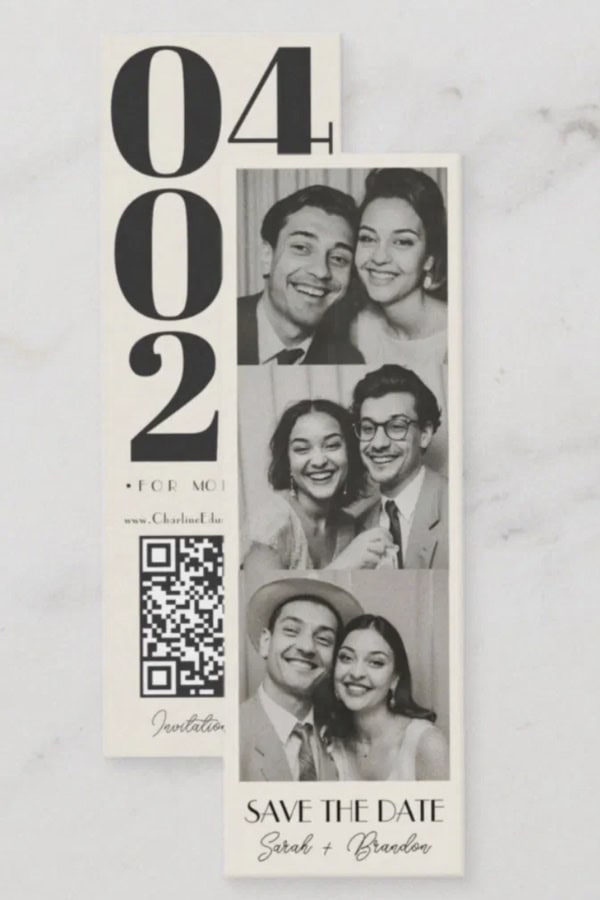
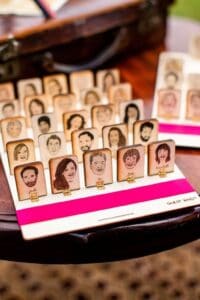
3. Photo Booth Strip Save the Date
A photo booth strip save the date is a fun and creative way to incorporate multiple engagement photos into your wedding announcement. To create this, arrange four or five images in a vertical strip, with each frame revealing part of your message. You can add text to the final frame with your wedding date and location.
This design is easy to make using Canva or Photoshop. Print on glossy or matte cardstock for a realistic photo booth feel. If you want to go all out, you can take actual photo booth pictures at an arcade or event space for an authentic look.
[Get the template and DIY guide here]
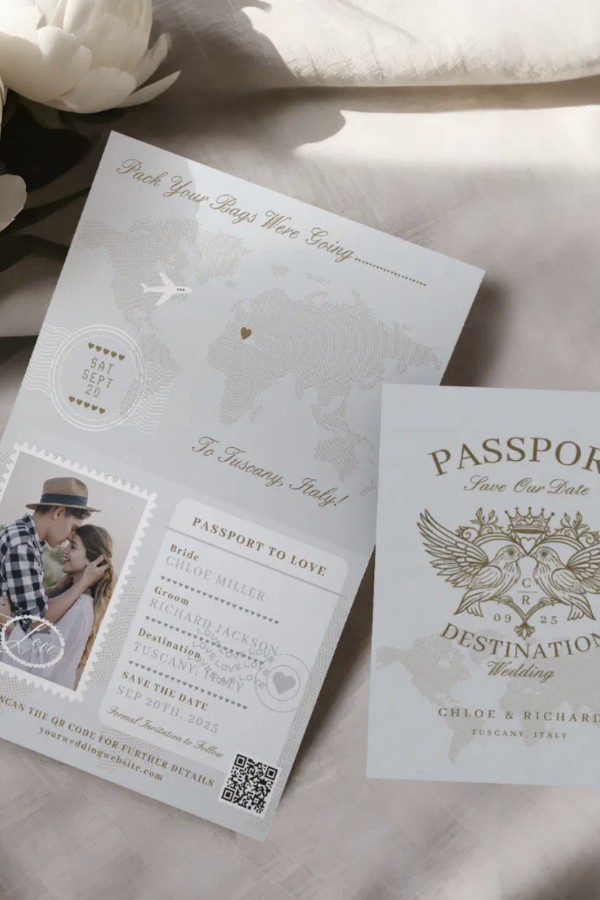
4. Passport-Themed Save the Date
For couples who love traveling or are planning a wedding abroad, a passport-style save the date adds a fun and adventurous touch.
This design resembles an actual passport, with a cover page featuring your names and a monogram-style emblem. Inside, you can include wedding details, a “stamp” with your wedding date, and even a faux visa page for RSVPs.
This idea works well for couples who enjoy intricate DIYs, but it can also be simplified by printing a single-page design on folded cardstock instead of making a full booklet.
[Get the template and DIY guide here]
5. Photo Card with Wax Seal
A classic and elegant way to announce your wedding date is to use a printed photo card, sealed with wax for an extra special touch. This design is incredibly simple to DIY. Start by printing a high-quality engagement photo on thick cardstock, ensuring there’s space for your wedding date and location.
To elevate the presentation, use envelopes that can be sealed with a wax stamp in a color that matches your wedding palette.
Wax seals can be pre-made and attached with adhesive stickers, or you can melt and stamp the wax yourself for an authentic effect. Adding a vellum overlay or deckled edges can give this save the date an even more sophisticated look.
[Get the template and DIY guide here]
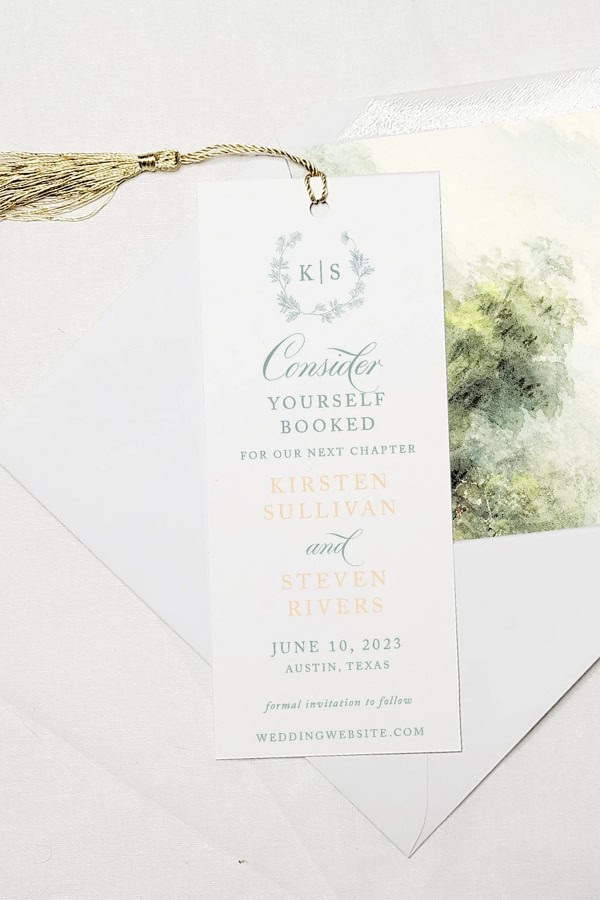
6. Bookmark Save the Date
If you and your partner love books, or if your wedding theme includes literary elements, a bookmark save the date is a practical and charming idea. These can be printed on sturdy cardstock and designed with elegant fonts, decorative borders, and a small engagement photo.
You can punch a hole at the top and add a tassel to make it feel like a real bookmark.
This is a great option if you want to give guests something useful they’ll keep long after the wedding. Bookmarks also fit easily into envelopes, making them an affordable option for mailing.
[Get the template and DIY guide here]
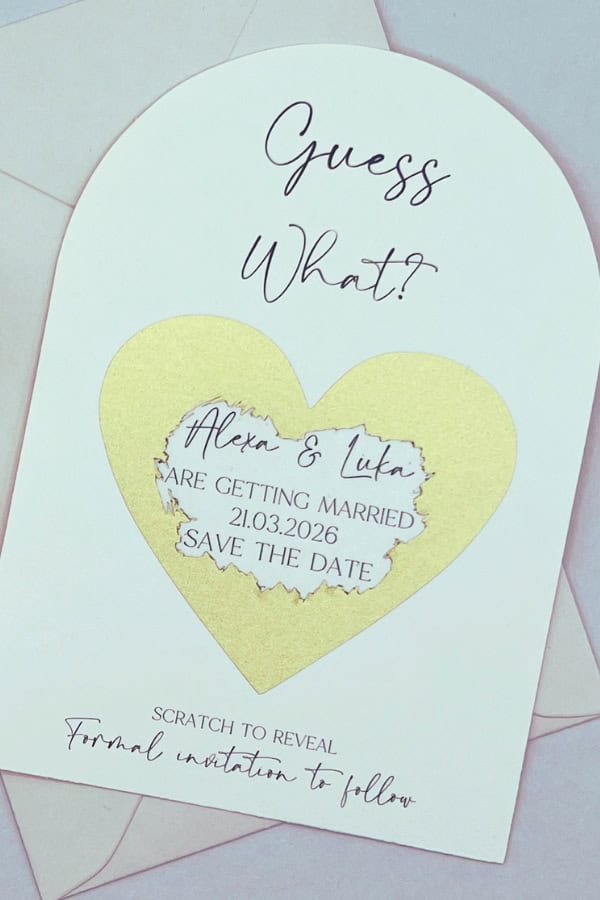
7. Scratch-Off Save the Date
A scratch-off save the date adds an element of surprise and fun for your guests. The idea is simple: print your wedding details, then cover the date or location with a DIY scratch-off sticker. Guests will need to scratch off the covering to reveal the information.
To make the scratch-off effect, mix two parts metallic acrylic paint with one part dish soap and apply it over clear packing tape. Once dried, the paint can be easily scratched away with a coin. You can print these save the dates on thick cardstock and mail them in flat envelopes.
[Get the template and DIY guide here]
More blogs you will love!
- 30 Unique Wedding Ideas Trending in 2026
- Alternative Wedding Towers (Beyond Champagne)

- Wedding Snack Bar Ideas You’ll Wish You’d Thought Of First

- Unique Wedding Food Ideas for 2026 Weddings!

- Late-Night Wedding Snack Ideas That Actually Keep the Party Going

- 35 Trending Wedding Cake Ideas for 2026

- Who Pays for What Now? Money Scripts for Modern Families

- Seating Plans When Your Family Isn’t “Traditional”

- 30 Unique Wedding Venues in Manchester for Modern Couples